

A renovation is not finished when the last tile is set or the paint dries. It is finished when the broken drywall, packaging, old fixtures, lumber scraps, and dust are off your property. Knowing how to clear post renovation debris safely can protect your driveway, prevent injuries, and keep a cleanup project from taking over your weekend.
For Jacksonville homeowners, renters, property managers, and small business owners, the fastest route is usually a clear plan: make the site safe, separate what can be reused, identify materials that need special handling, and remove the rest without damaging your property or making multiple trips to a disposal facility.
Start by Making the Work Area Safe
Post-renovation debris is rarely just a pile of harmless scraps. A small bathroom remodel can leave behind sharp tile edges, exposed screws, broken mirror pieces, wire, adhesive containers, and fine dust. Larger jobs may add heavy cabinets, flooring, appliances, or demolition materials.
Before lifting anything, clear a walking path from the renovation area to the exit. Move pets, children, and anyone not helping away from the work zone. Turn on lights in dim rooms and check carefully for nails, staples, and glass on the floor.
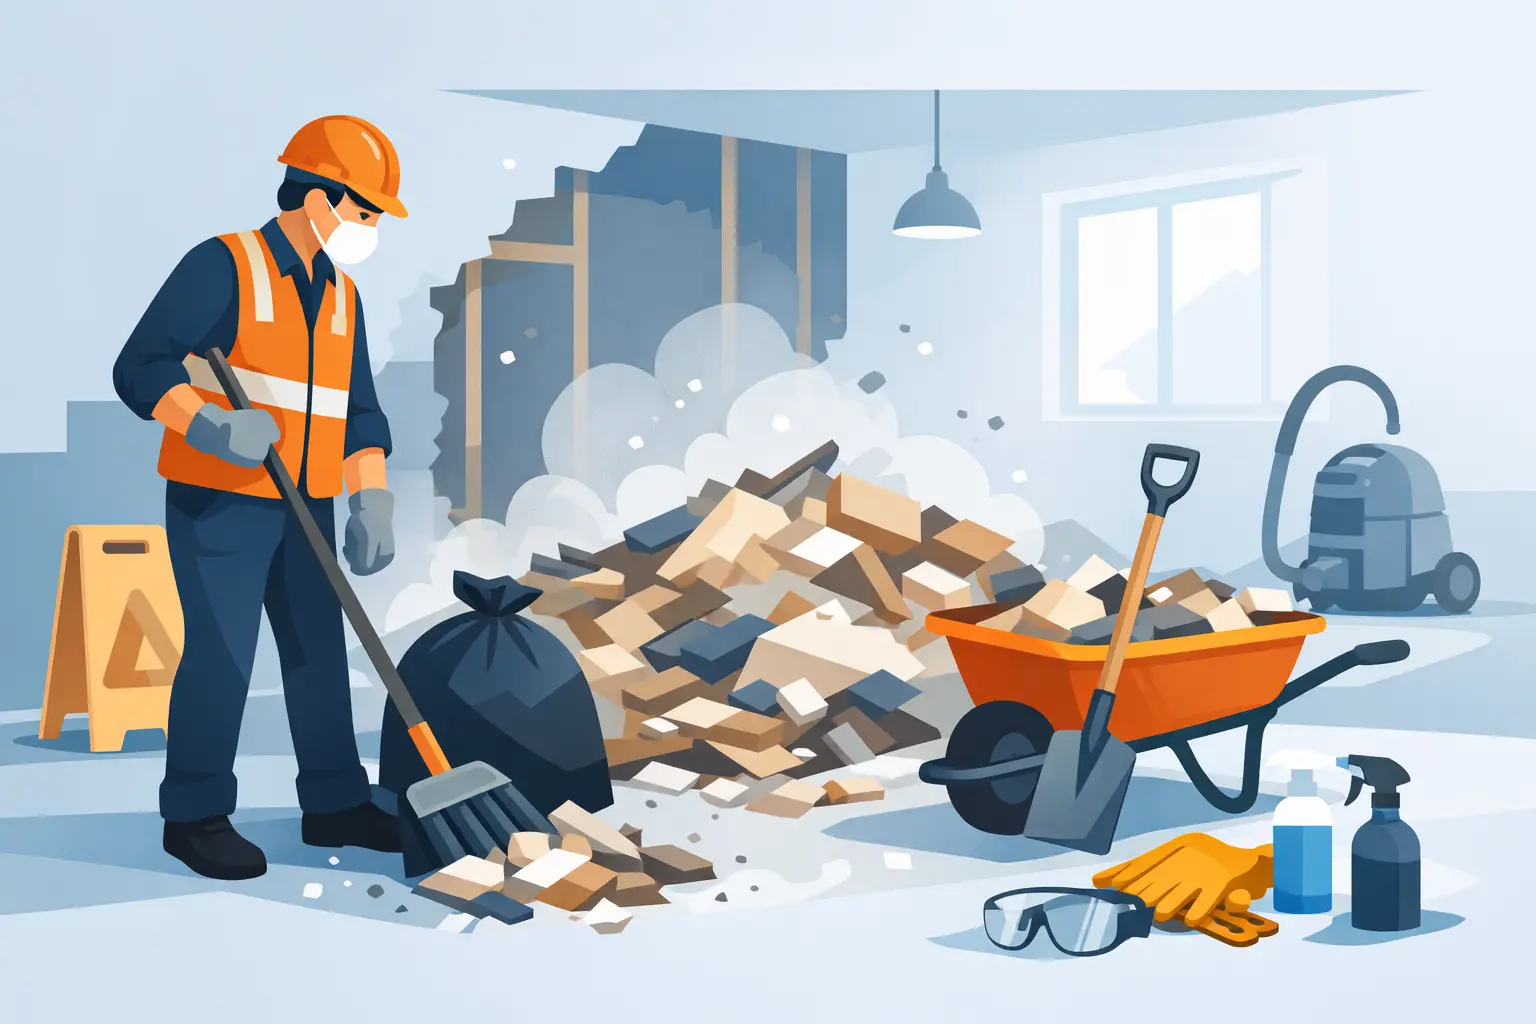
Wear work gloves, closed-toe shoes with solid soles, and eye protection. A dust mask is a smart precaution when sweeping drywall dust, sawdust, insulation, or other fine particles. If debris has been sitting outside after rain, watch for slippery surfaces, insects, and materials that have become heavier from moisture.
Do not assume every material is safe to handle. Older homes can contain lead-based paint, asbestos-containing materials, or other hazards that require trained assessment and specialized removal. Stop work if you suspect a hazardous material. Bagging it up or breaking it apart can create a bigger problem.
Sort Before You Haul
The biggest cleanup mistake is treating every leftover item as trash. Sorting first can reduce disposal costs, make loading safer, and give usable materials a better outcome.
Set aside intact items that may still have value. Cabinets in good shape, working appliances, usable doors, fixtures, clean lumber, unopened supplies, and quality furniture may be appropriate for donation, resale, or reuse. Whether an item is accepted depends on its condition and the receiving organization, so do not count on every item being eligible.
Then group ordinary renovation debris by type. Keep bulky items together, place smaller loose debris in sturdy containers or bags, and separate metal when practical. Clean cardboard boxes from new appliances, flooring, or fixtures can often be broken down to save space. Paint cans, chemicals, batteries, fluorescent bulbs, and electronics should stay separate from general construction debris because they may have different disposal requirements.
A simple sort also gives you a more accurate idea of how much removal help you need. One pickup load of bagged debris is very different from a kitchen demolition that includes cabinets, countertops, and old appliances.
What Usually Needs Special Handling
Some materials should not be tossed into a general debris pile. Paint, stains, solvents, pesticides, propane cylinders, automotive fluids, and other chemicals can create safety and environmental issues. The same is true for items such as batteries, electronics, and certain light bulbs.
Concrete, bricks, dirt, shingles, and large amounts of lumber may be accepted differently than household junk at local disposal sites. Requirements can change based on the facility, the material, and the amount. If you plan to haul debris yourself, verify the rules before loading a truck or trailer. That quick check can save an unnecessary trip and a second round of loading.
How to Clear Post Renovation Debris Without Damaging Your Property
Heavy debris can do more damage during cleanup than it did during the renovation. Dragging a metal appliance across a driveway can leave deep marks. Overloading a wheelbarrow can crack pavers or make it hard to control. Tossing debris from a porch or window can damage landscaping, siding, or vehicles.
Use a dolly, hand truck, or wheelbarrow for heavy items, and keep loads manageable. Lift with your legs, keep the item close to your body, and get help with awkward materials. Cabinets, vanities, countertops, water heaters, and appliances often need two people, even when they do not look especially heavy.
Protect finished floors before moving debris through the house. Flattened cardboard, moving blankets, or temporary floor protection can keep grit and sharp fragments from scratching newly installed surfaces. If your renovation included fresh paint or new trim, take corners slowly. Rushing a bulky item through a doorway is an easy way to create a repair you did not plan for.
Outside, keep the debris pile off the street, sidewalk, and storm drain. Jacksonville rain can move dust, loose insulation, and small fragments quickly. Cover a temporary outdoor pile if weather is coming, especially if it contains cardboard, drywall, or materials that can become soggy and difficult to lift.
Decide Whether a DIY Haul Makes Sense
A do-it-yourself cleanup can work for a small project with lightweight debris and a vehicle suited for hauling. It is often reasonable after replacing a few fixtures, assembling furniture, installing a small amount of flooring, or completing a minor room refresh.
It becomes less practical when debris is heavy, sharp, wet, mixed, or spread throughout the property. Renting a truck, finding a disposal site, paying facility fees, securing the load, and making several trips can take more time and money than expected. There is also the risk of overloaded vehicles, damaged interiors, or unsecured debris on the road.
For rental properties and real estate listings, speed matters even more. A driveway full of old cabinets or construction bags can delay cleaning crews, photography, showings, and new tenant move-ins. In those cases, professional removal lets the next phase of the job start sooner.
Prepare for Fast, Straightforward Removal
If you hire a junk removal team, preparation helps the appointment move quickly. You do not need to create a perfect pile, but it helps to identify what is staying and what is going. Put personal items, tools, and reusable materials somewhere separate from the removal area.
Take note of access issues before the crew arrives. Mention stairs, elevators, tight gates, long carry distances, or items located in a backyard, attic, shed, or upstairs room. Clear vehicles from the driveway if possible. These details allow for a more accurate plan and help avoid delays on pickup day.
Ask for transparent pricing based on the amount and type of debris, rather than agreeing to a vague estimate. You should know what is being removed and understand the cost before work begins. A dependable provider will also tell you if an item requires special handling instead of quietly mixing it into a general load.
Extra Mile Junk Removal provides Jacksonville customers with same-day service when available, honest pricing, and a donation-first approach for items that are still suitable for reuse. That is useful when a renovation has left you with more than a curbside bin can handle and you want the property cleared without sending every usable item straight to a landfill.
Do Not Let Cleanup Become the Last Delayed Project
It is tempting to push debris cleanup to the end of a long renovation, especially after weeks of decisions and expenses. But leftover material attracts pests, limits access to your space, and turns a completed project into an unfinished-looking property. It can also make it harder to spot a missing tool, a damaged surface, or a contractor punch-list item.
Schedule the cleanup as part of the renovation plan, not as an afterthought. Once the debris is gone, sweep the area, check for loose fasteners, and walk through the finished space with a clear view. A clean property gives you the payoff you worked for: room to use, rent, sell, or simply enjoy again.